Disassembly of a Canon Powershot A75
My trusty old Canon Powershot A75 finally took a nosedive. It wasn't a particularly sad moment, as I haven't used it for at least a few years, but nonetheless, it was the camera with which I really became passionate about photography. Well, to further get something out of it, I decided to take apart the camera as far as I possibly could. Let's just say, I have a lot of respect for camera engineers with regards to space considerations. I'm an electrical engineer myself, and I can't imagine the headaches these engineers have trying to get their components to not only fit in a designated space, but to mesh with the other components both in the completed product and in the assembly process.
I did not cut any permanent connections in the disassembly of the camera, except in one instance, and that was to remove the flash capacitor and flash unit. This was soldered at both ends, and had to be snipped in order to get at the rest of the camera. Oh, and for anyone wishing to do this to their camera (any camera), see Section 5, and know the dangers of working with cameras that have flashes (or other equipment with capacitors). Disassemble at your own risk.
Anyway, on to the disassembly:
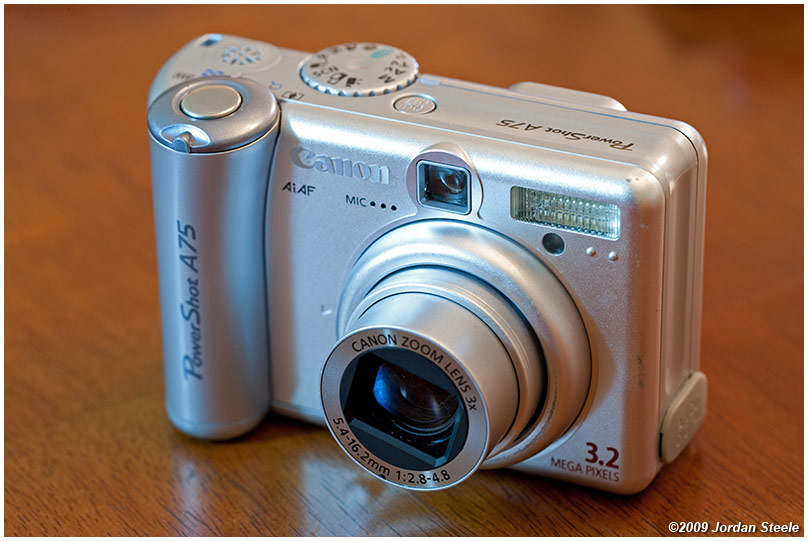
1. The camera before work begins. Notice the jammed barrel, a result of a drop to the floor, which ultimately killed it, though the camera was already having focus motor issues and aperture control problems.
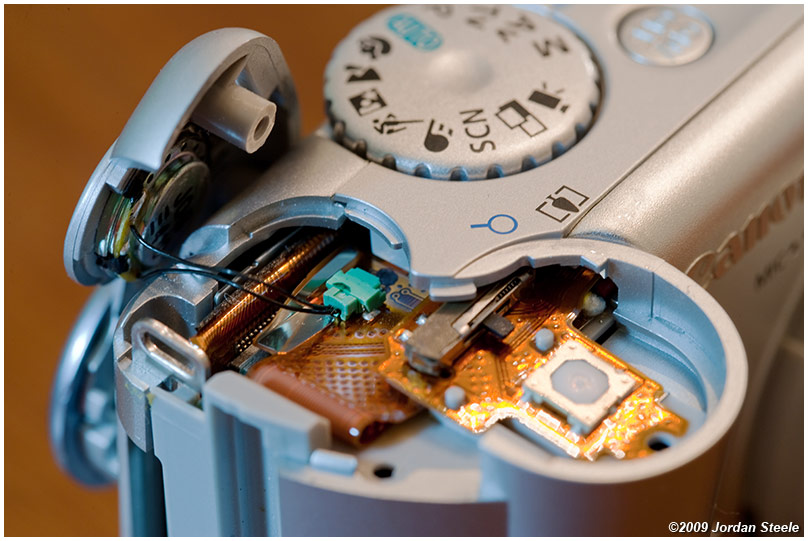
2. After taking out all the visible screws on the exterior of the body, and the screws inside the battery compartment and CF compartment, the shutter button is free to come off. A quick tug dislodges the plug to the speaker:
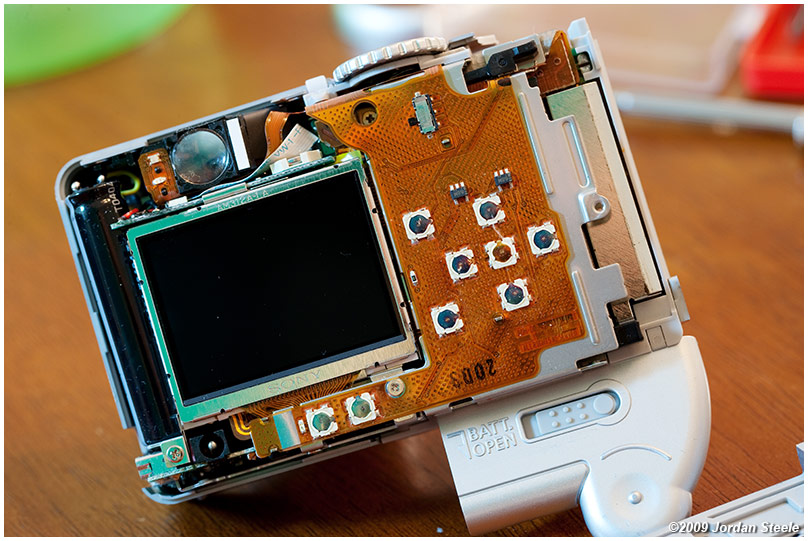
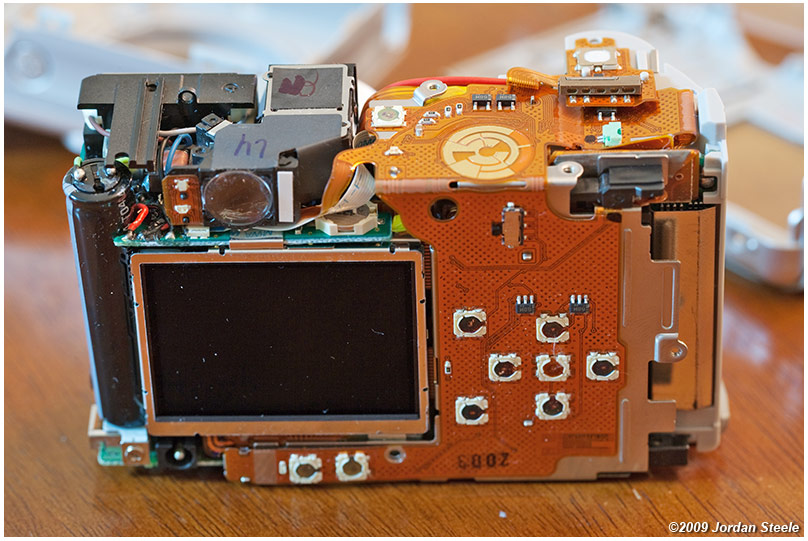
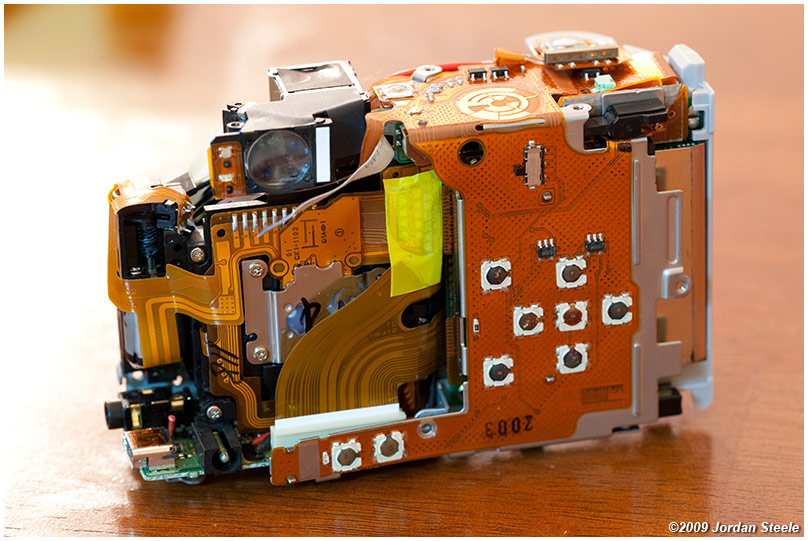
3. After removing every screw I could find, it took me a while to find out how to pop the back off, but eventually it just popped free, allowing access to the rear. Here you can see the LCD, the buttons for all the controls, the flash capacitor on the left and the viewfinder.:
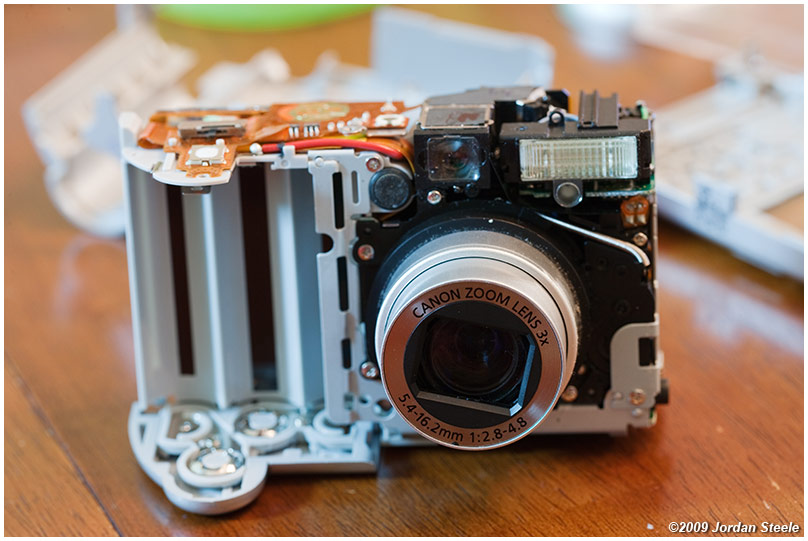
4. A few more screws to remove the mode dial and the front of the camera, and we're left with more or less the camera naked, without any of the outer protective shell. As you can see, there is VERY little room in the camera...it's basically a block of components.
5. At this stage, I became concerned about accidentally touching the terminals on the flash capacitor. If you don't know, camera flashes (and lots of other devices) contain very high power capacitors, designed to discharge extremely high amounts of current in a single burst, in order to power the flash. People have been killed on some of the larger ones, like those in CRT televisions. Now, a camera flash will more than likely not kill you (though I make no guarantee), but it sure as heck will give you a NASTY electrical burn, and possible nerve damage...or worse. Long story short...do work like this at your own risk. There are dangers involved in working with these components. Anyway, to avoid any accidental discharge of the capacitor, I decided to short it out intentionally, so there was no charge left. People at home...don't do this. I managed to do it safely, but if you screw up, well, see the warnings above. Do this at your own risk. I take no responsibility for any injury someone may sustain by trying this with their own camera.
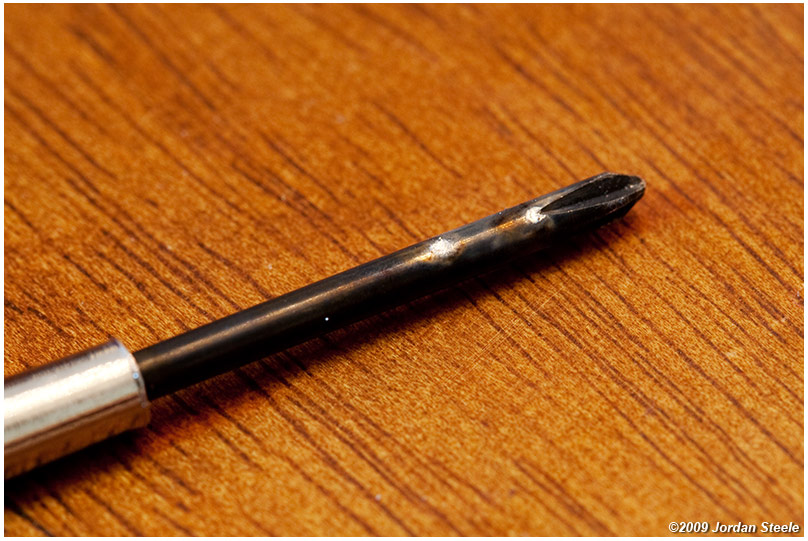
Anyway, I insulated the end of my precision screwdriver with several layers of cloth and shorted the capacitor terminals. I was not ready for how big the discharge was. An EXTREMELY bright light and VERY loud pop. Scared the bejezus out of me...this was a BIG spark. Luckily, I felt nothing except the surprise from the size of the spark. I shorted it a few more times (with a few smaller, but still substantial discharges), until the capacitor was completely dead...now I could continue safely. Of course, I'm quite glad I did this step. No damage to me. I probably damaged the camera, but since I knew I wasn't trying to fix it, I didn't care. Let me just say...there's no way in heck I'd do this to any substantial flashgun (like a hotshoe flash)...the shock would be unbelievable if you messed up. Just to give you an idea of the size of the spark, here are the marks left on the screwdriver from the spark:
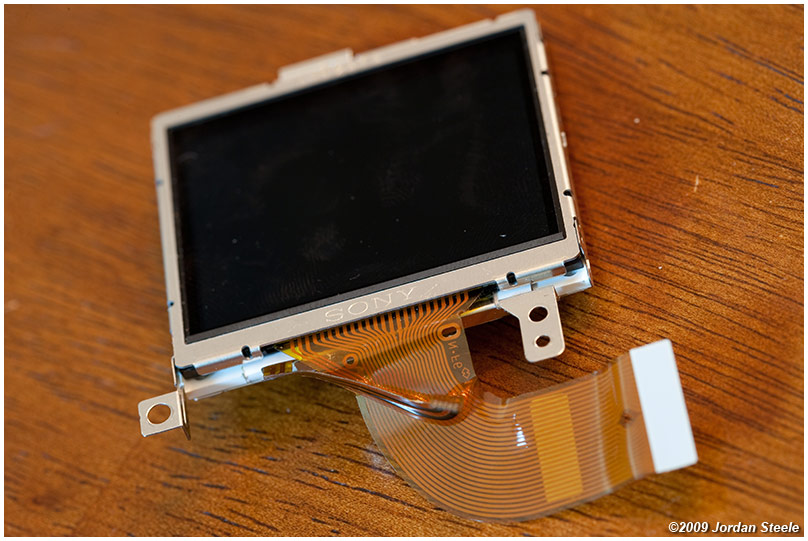
6. After some searching and prodding, I was finally able to disconnect the Sony brand screen from the rest of the camera, which wasn't as easy as you'd think. Two ribbon cables that connected in VERY different locations, one underneath the logic circuit board.
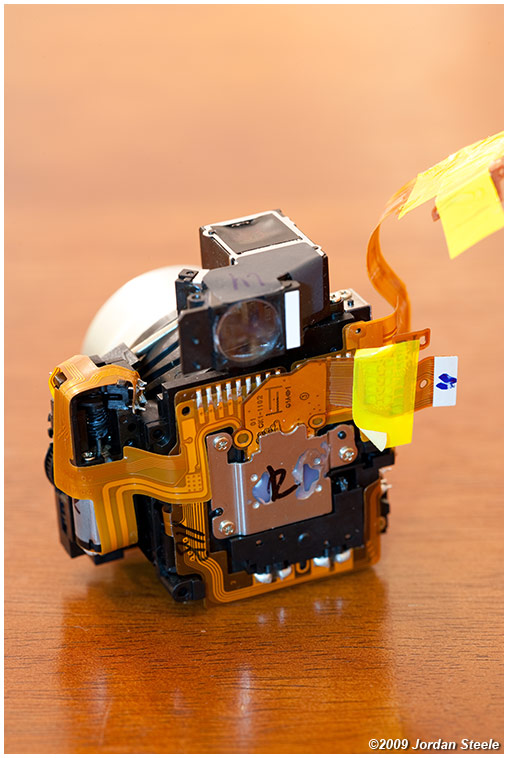
7. At this point, I was roughly 50% done, but it took me a while to get past this point. Here is the camera with the screen and flash unit disconnected. After shorting out the flash capacitor, I had to snip the wires from it and undo a few more screws to get it out. You can see the back of where the sensor is mounted in the picture of the back.
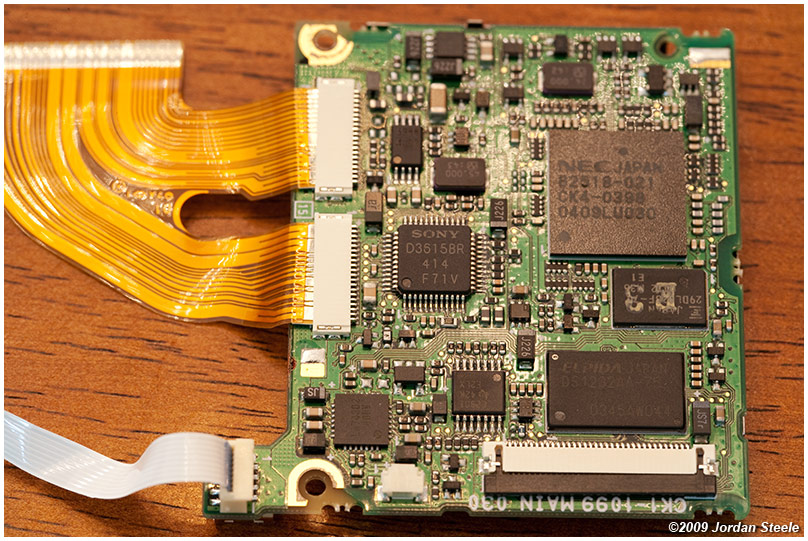
8. This was the hardest step. The circle below the mode dial contacts has a recessed screw that I didn't see for a while, so I couldn't figure out how to get further for a while. Once I found that screw, then had to bend up the control board and unhook part of the chassis. At this point, the whole camera more or less fell apart, separating (with a few disconnections to ribbon cables) into the major modules. This is the motherboard, as it were...containing most of the control and imaging processors. This is located directly behind the control button board:
9. The control / button board:

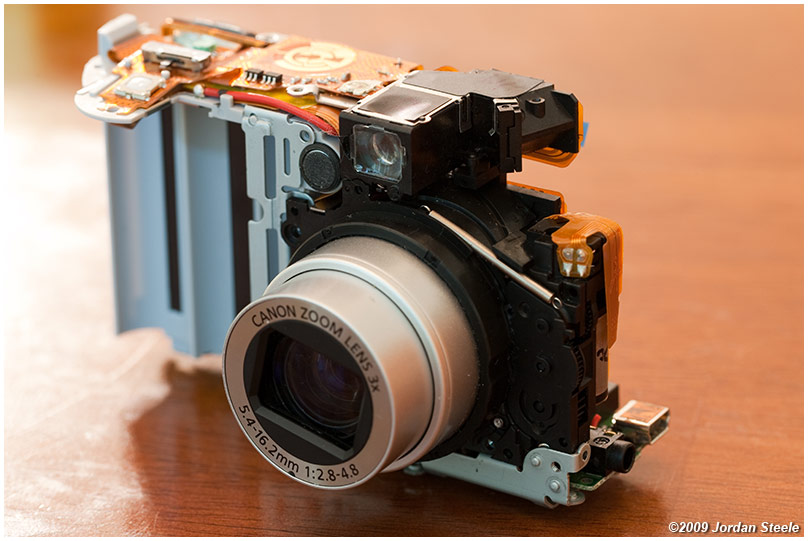
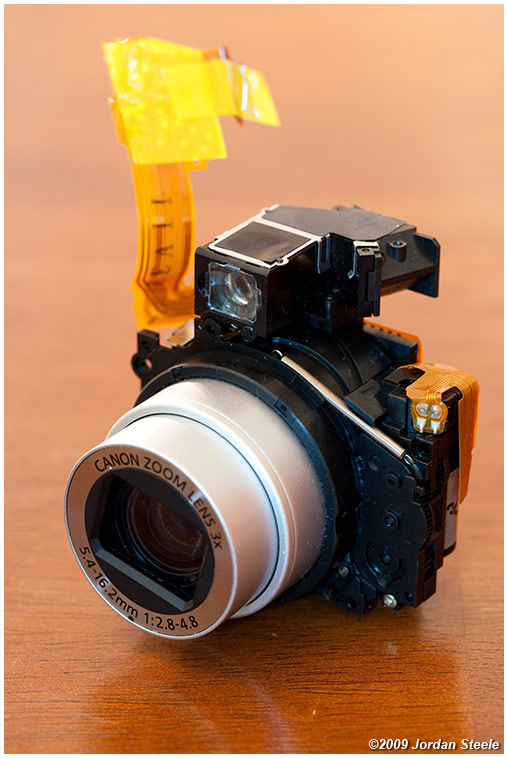
10. And the heart of the camera...the lens/sensor assembly (front and back). (The viewfinder is integrated into this assembly as well.)
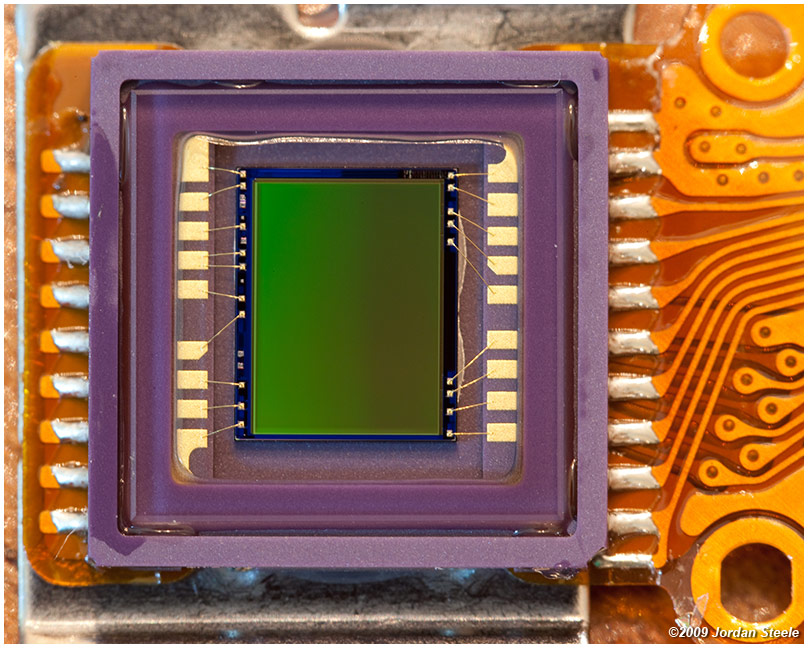
11. At this point, I was anxious to see the sensor, so I undid the three screws, and the sensor popped off the back. The only thing on that piece is the sensor and the electrical leads from it. It's small (smaller than your pinky nail), and kind of pretty. Wanted to get a nice closeup of it. So, here it is, the 3.2MP sensor of the PowerShot A75. Not worth a damn by today's standards, but quite a nice P&S sensor in its day.
12. And the rear of the sensor/lens assembly. You can see the greenish IR filter that would sit right in front of the sensor.

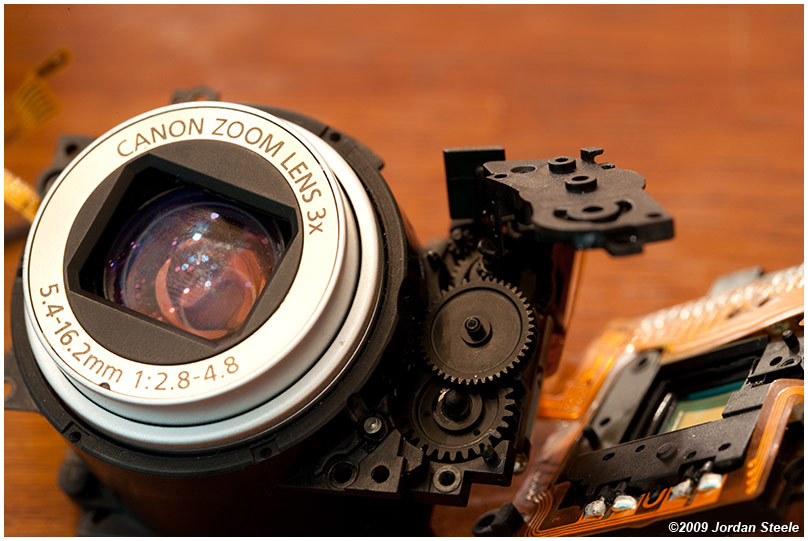
13. The front of the lens assembly after removing the IR filter assembly and with the motor/gearing opened up...you can see the retraction/focusing gears here:
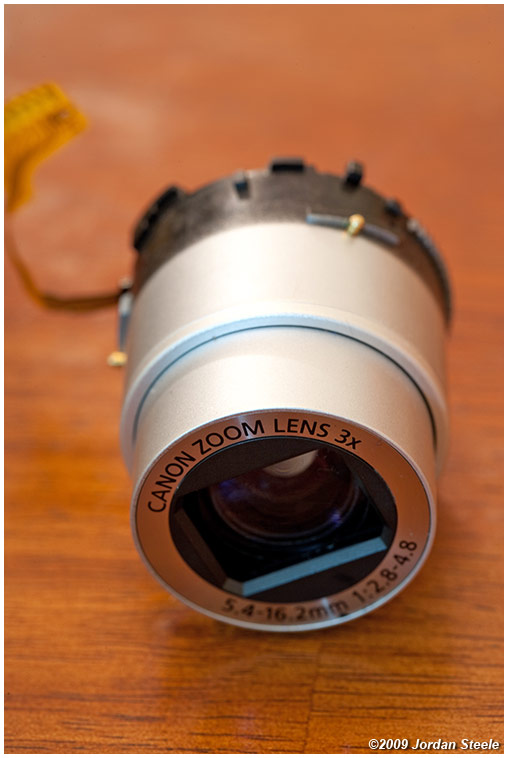
14. The furthest I could break down the lens. I tried everything I could think of to crack open the lens itself, but didn't want to have to break things to do so. I know I could break one of the rings at the back to dislodge the inner elements, but I don't want to do that right now.
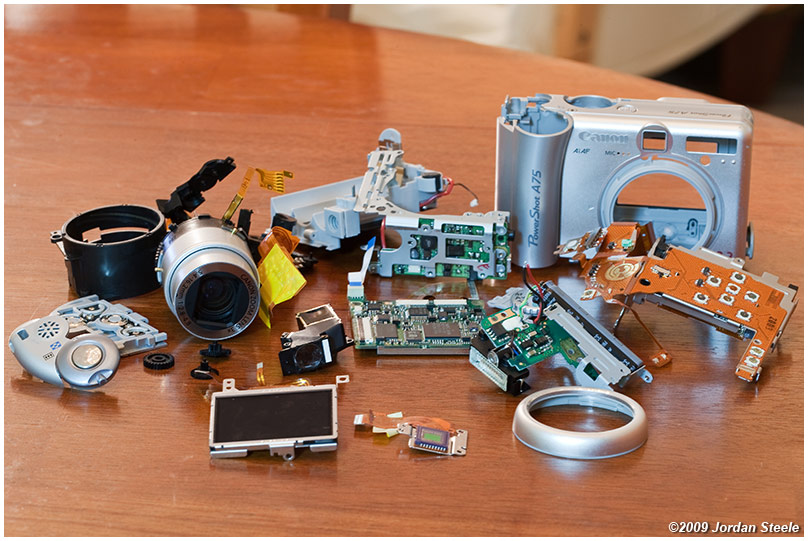
15. And finally, all the parts (sans the screws and little springs/washers that came out as well, which I had in a dish nearby. I also forgot to put the CF door in the picture, but, well, that's not too exciting. The sensor is up front and center. All in all it was quite fun. Hope you liked looking at this:
Copyright 2009, Jordan Steele. All Rights Reserved. Reproduction in whole or in part is prohibited.